How do landlords compare move-in and move-out photos to prove real damage?
A side-by-side view of the same room makes genuine changes obvious.
Match the same rooms and camera angles across both inspections so each pair shows the identical spot. Separate normal wear from genuine damage, then place each damage photo beside its move-in shot to make the change obvious. That clear before-and-after lets you settle deposits fairly and defend any deduction you claim.
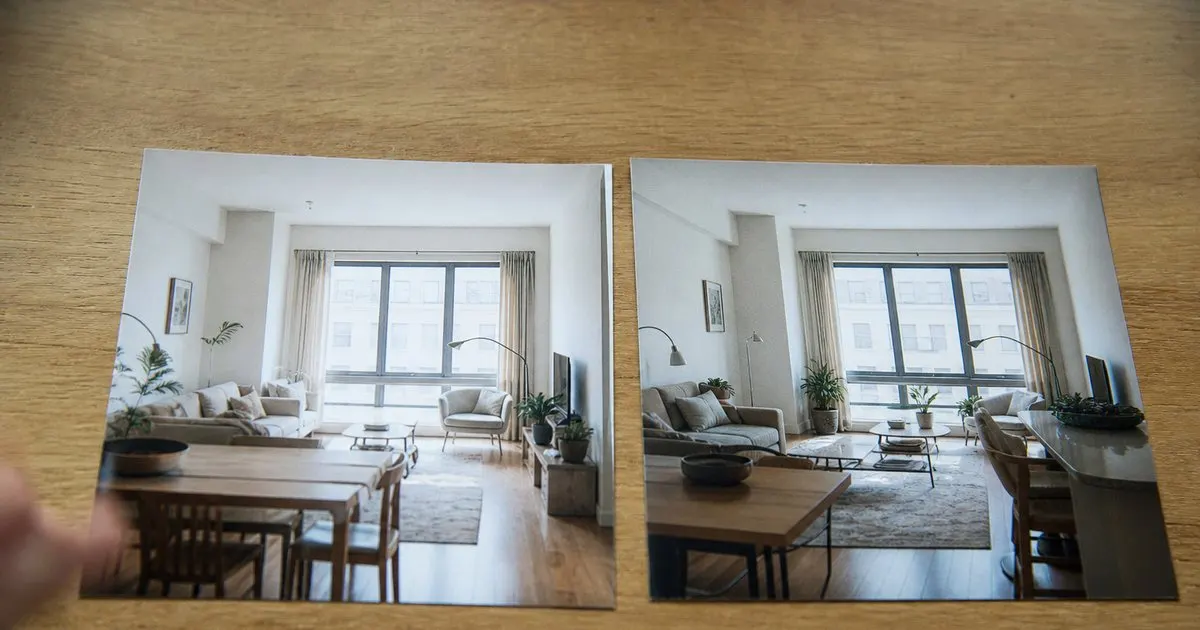
Match the same angles
The comparison works best when the two photo sets show the same rooms from the same angles. That is why a consistent walkthrough order pays off at move-out. Related: When is the best time to complete a move-in inspection with your tenant?
When angles match, changes jump out. A wall that was clean and is now scuffed is undeniable when the two images sit next to each other.
Keep reading: Why do timestamped move-in photos protect landlords during security deposit disputes?, How should landlords document rental condition room by room before a tenant moves in?, What should a move-out inspection checklist include for a typical rental apartment?. See how MoveInSnap helps you move-in and move-out inspection photo logs.
Separate damage from wear
Not every change is chargeable. Minor scuffs, small nail holes, and faded paint are usually ordinary wear that comes with living in a home.
A side-by-side view helps you judge fairly. It shows the difference between normal aging and genuine damage like a broken fixture or a large stain. Related: What is the difference between normal wear and tenant-caused damage in rentals?
Document the delta clearly
When you find real damage, capture it clearly and pair it with the matching move-in shot. That pairing is your evidence for a deduction. Related: What is the best way to photograph rental damage in dim rooms and tight corners?
Adding a short note strengthens the record. Describe what changed and, if you can, estimate the repair so the deduction is easy to justify.
Use it to settle fairly
The point of comparison is a fair outcome, not a fight. Clear evidence helps you and the tenant agree on what is chargeable without a standoff.
If a dispute does escalate, an organized before-and-after set is far more convincing than scattered claims. Deposit rules vary by state, so treat this as general information rather than legal advice. Related: Why does a pre-move-out walkthrough two weeks before lease end reduce deposit deductions?
- Match rooms and angles across both inspections
- Distinguish normal wear from real damage
- Pair each damage photo with its move-in shot
- Use the comparison to settle deposits fairly

Julien Jimenez
Julien Jimenez is an independent software builder based in Paris. He designs, ships, and operates focused SaaS products for small businesses and independent professionals. Read the full author page.
Frequently asked questions
How do you tell normal wear from real damage in a comparison?
Wear is the gradual, expected result of living there, like light scuffs. Damage is a distinct new problem, such as a burn or a hole, that the move-in photo clearly did not show.
Why match camera angles between inspections?
Identical angles make each pair directly comparable, so a change is unmistakable. Different angles invite argument about whether you are even looking at the same spot.
Prove condition with dated photos
Move-in and move-out inspection photo logs. MoveInSnap is built to help you put this into practice.
Start freeMore from the MoveInSnap blog
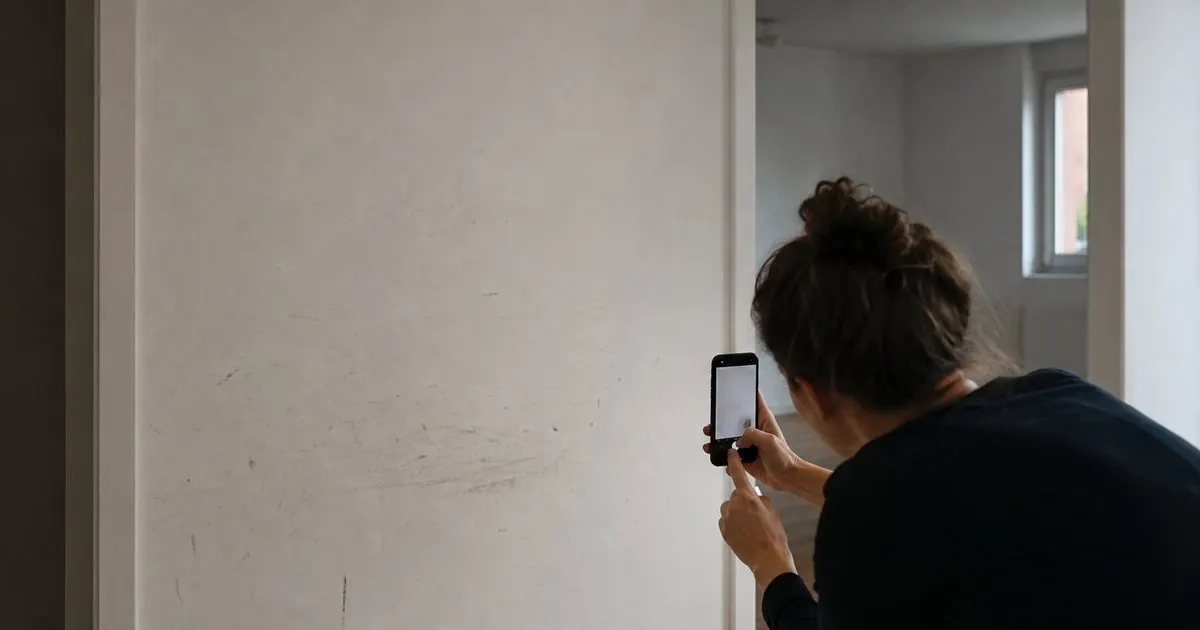
Why do timestamped move-in photos protect landlords during security deposit disputes?
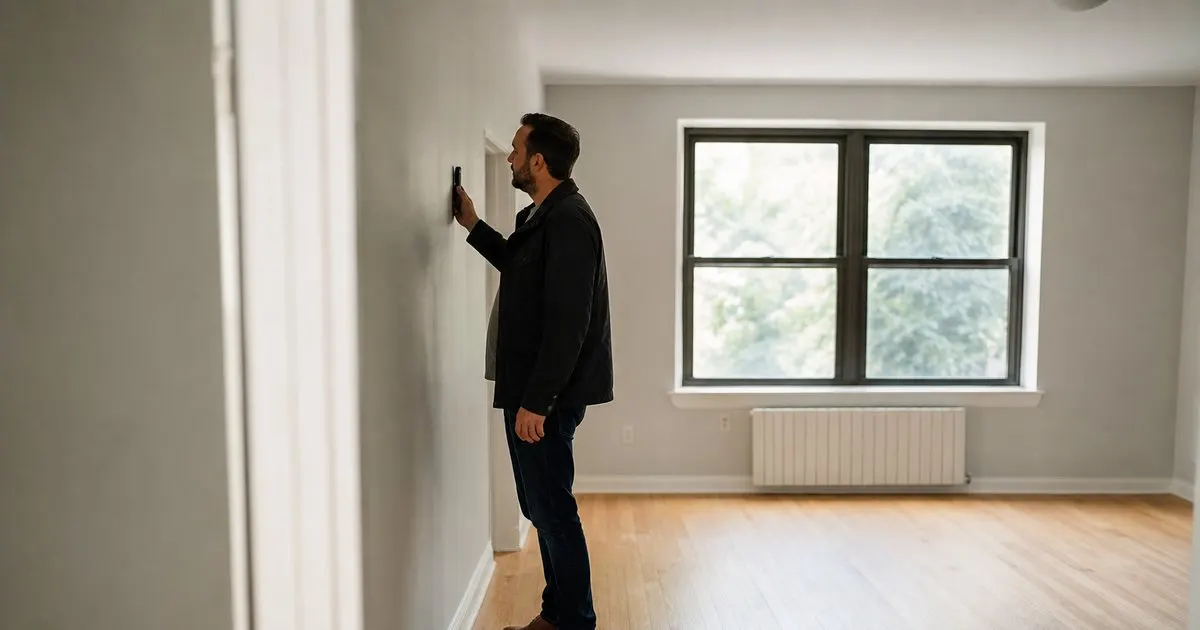
How should landlords document rental condition room by room before a tenant moves in?

What should a move-out inspection checklist include for a typical rental apartment?
Get the MoveInSnap playbook
Practical guides on move-in and move-out inspections, straight to your inbox as we publish them. No spam, unsubscribe any time.