What should a move-out inspection checklist include for a typical rental apartment?
A thorough list keeps you consistent and fair when a tenant hands back the keys.
Cover walls, floors, and ceilings, then give kitchens and bathrooms extra attention for grease, grout, and moisture. Test fixtures, doors, windows, and smoke detectors, and finish by collecting keys and photographing everything in the same order as move-in. Comparing against your baseline photos keeps the assessment consistent and fair.
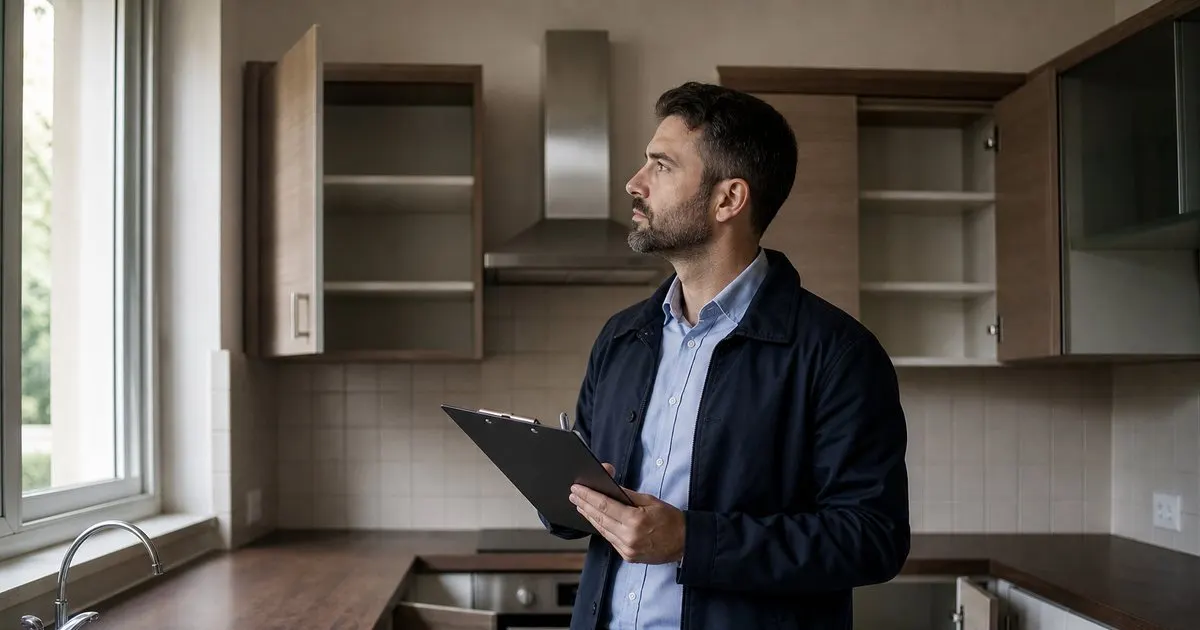
Walls, floors, and ceilings
Start with the surfaces. Check walls for holes, scuffs, and unapproved paint, floors for stains and damage, and ceilings for water marks.
Compare each against your move-in photos. The goal is to separate new damage from the condition you documented at the start. Related: Why do timestamped move-in photos protect landlords during security deposit disputes?
Keep reading: Why do timestamped move-in photos protect landlords during security deposit disputes?, How should landlords document rental condition room by room before a tenant moves in?, When is the best time to complete a move-in inspection with your tenant?. See how MoveInSnap helps you move-in and move-out inspection photo logs.
Kitchen and bathrooms
These rooms take the most wear. Inspect appliances, cabinets, counters, sinks, and grout, and confirm everything is clean and functional. Related: Which rooms cause the most deposit disputes during rental move-out inspections?
Look for water damage in particular. Leaks under sinks and around tubs can cause hidden problems that are worth catching before the next tenant. Related: What is the difference between normal wear and tenant-caused damage in rentals?
Fixtures, doors, and windows
Test light fixtures, switches, and outlets, and check that doors and windows open, close, and lock. Confirm screens and blinds are intact.
Do not forget safety devices. Smoke and carbon monoxide detectors should be present and working before the unit turns over.
Keys, cleanliness, and photos
Collect all keys, remotes, and fobs, and note anything missing. Assess overall cleanliness against the standard set at move-in.
Finally, photograph everything using the same room-by-room order as your move-in inspection so your before and after sets line up cleanly. Related: How should landlords document rental condition room by room before a tenant moves in?
- Check surfaces against your move-in photos
- Give kitchen and bathrooms extra attention
- Test fixtures, doors, windows, and detectors
- Collect keys and photograph in the same order

Julien Jimenez
Julien Jimenez is an independent software builder based in Paris. He designs, ships, and operates focused SaaS products for small businesses and independent professionals. Read the full author page.
Frequently asked questions
Why photograph move-out in the same order as move-in?
Matching the order makes it easy to place each room's before and after images side by side, so genuine changes stand out and the comparison is quick to review.
Should smoke and carbon monoxide detectors be on the list?
Yes. Test them during the walkthrough and note the result. It is a safety item, is often legally required, and confirms the unit is ready for the next tenant.
Prove condition with dated photos
Move-in and move-out inspection photo logs. MoveInSnap is built to help you put this into practice.
Start freeMore from the MoveInSnap blog
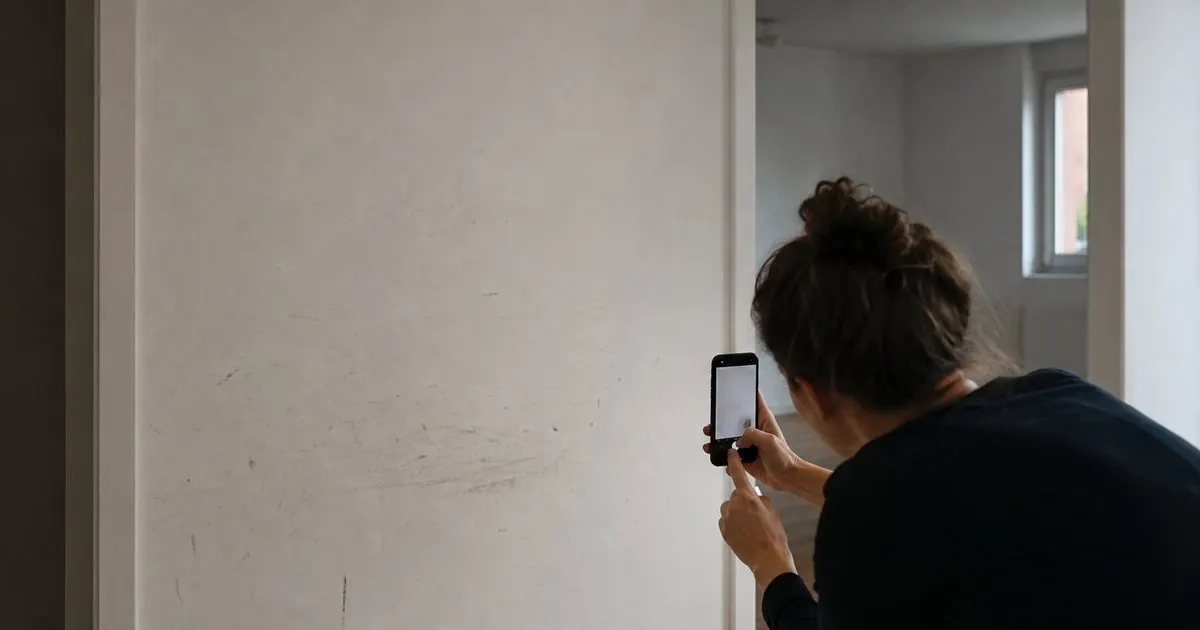
Why do timestamped move-in photos protect landlords during security deposit disputes?
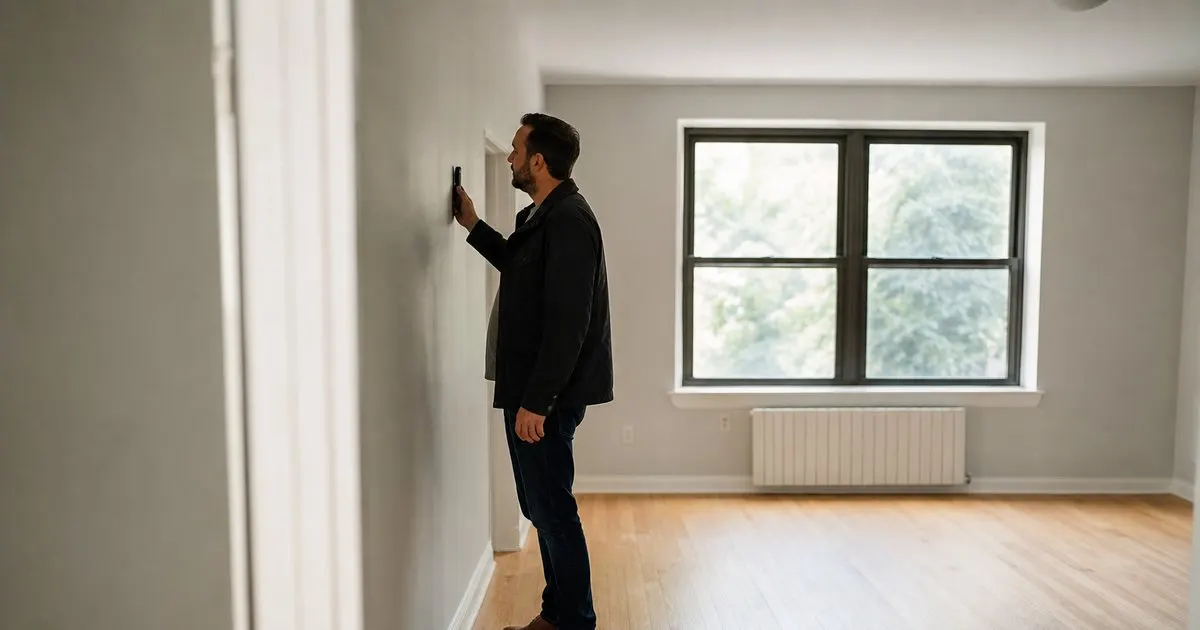
How should landlords document rental condition room by room before a tenant moves in?

When is the best time to complete a move-in inspection with your tenant?
Get the MoveInSnap playbook
Practical guides on move-in and move-out inspections, straight to your inbox as we publish them. No spam, unsubscribe any time.