How should landlords document rental condition room by room before a tenant moves in?
A consistent walkthrough captures the whole unit without missing a corner.
Walk the unit in the same fixed order every time so no corner is missed. Photograph surfaces, fixtures, and appliances in each room, add short notes for details a photo cannot show, and file everything under the correct unit. A consistent routine captures the whole apartment reliably before move-in.
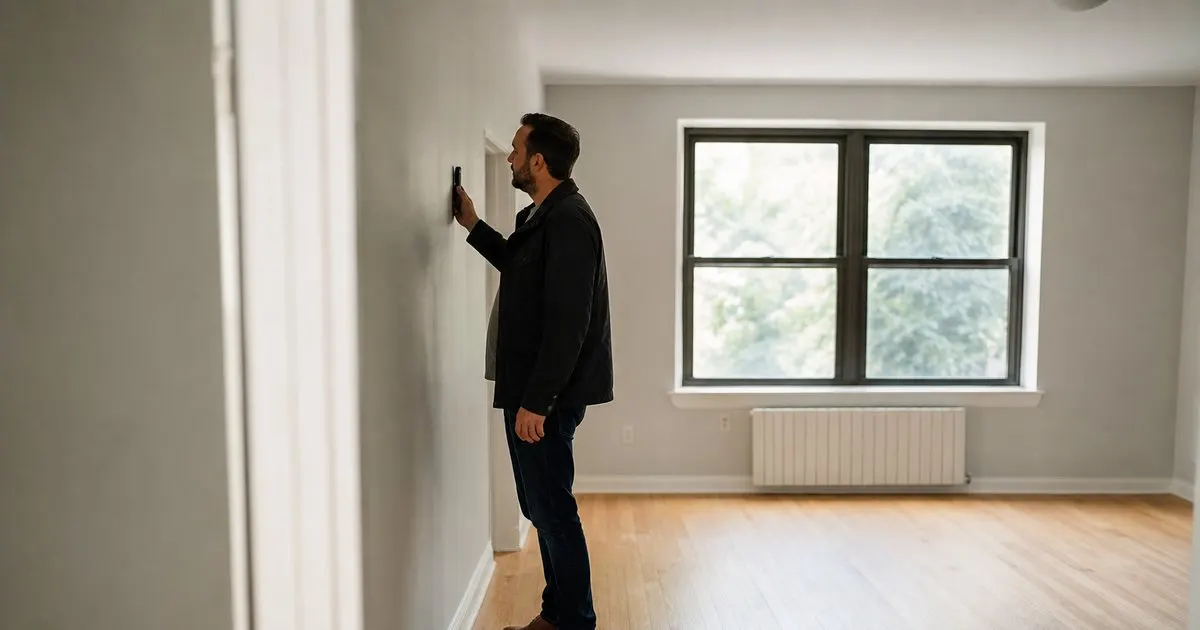
Follow a fixed order
A consistent route through the unit keeps you from missing spaces. Start at the entry and move room by room in the same order every time, ending with closets and outdoor areas. Related: When is the best time to complete a move-in inspection with your tenant?
A fixed order also makes comparison easier later. When move-out follows the same path, matching before and after photos is straightforward. Related: Why do timestamped move-in photos protect landlords during security deposit disputes?
Keep reading: Why do timestamped move-in photos protect landlords during security deposit disputes?, What should a move-out inspection checklist include for a typical rental apartment?, When is the best time to complete a move-in inspection with your tenant?. See how MoveInSnap helps you move-in and move-out inspection photo logs.
Capture the details that matter
Photograph walls, floors, ceilings, and fixtures in each room. Get close-ups of any existing marks, and wide shots that show the overall condition.
Do not skip the easy-to-forget items. Appliances, cabinets, window screens, and smoke detectors all belong in the record.
Add notes to photos
A photo shows condition, but a short note adds context. Flag a small stain, a chip in the counter, or a fixture that works so nothing is ambiguous later.
Notes are especially useful for things a photo cannot show, like a faucet that runs slowly or an appliance that is functional but dated.
Store it where you can find it
Documentation only helps if you can retrieve it. Keep each inspection filed under the right unit and tenant so it is ready when you need it. Related: Should tenants be present during the move-in and move-out inspection walkthrough?
An organized archive also speeds up your next move-out. You will know exactly where the baseline lives instead of hunting for old photos. Related: How do landlords compare move-in and move-out photos to prove real damage?
- Walk the unit in a fixed order every time
- Photograph surfaces, fixtures, and appliances
- Add notes for details a photo cannot show
- File each inspection under the right unit

Julien Jimenez
Julien Jimenez is an independent software builder based in Paris. He designs, ships, and operates focused SaaS products for small businesses and independent professionals. Read the full author page.
Frequently asked questions
Why follow the same order in every inspection?
A fixed route makes the process repeatable and hard to skip a room. It also lets you match move-in and move-out photos of the same spot later without confusion.
What should notes add beyond the photos?
Notes capture what an image misses, such as a faint odor, a sticky drawer, or an existing scratch you want on record, giving context that strengthens your documentation.
Prove condition with dated photos
Move-in and move-out inspection photo logs. MoveInSnap is built to help you put this into practice.
Start freeMore from the MoveInSnap blog
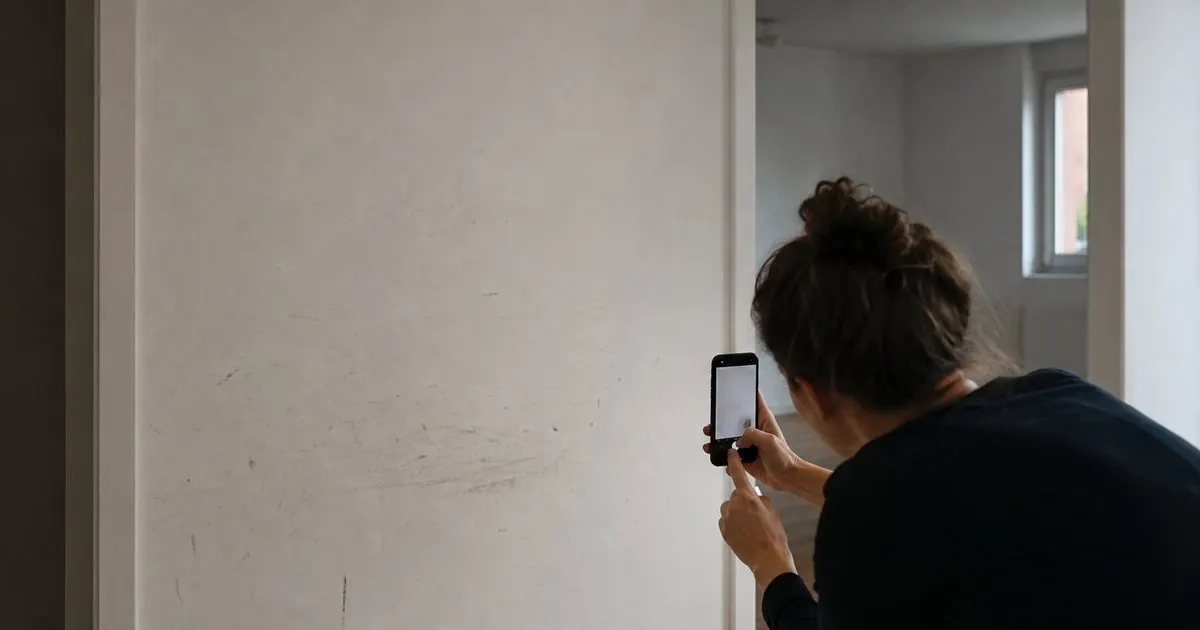
Why do timestamped move-in photos protect landlords during security deposit disputes?
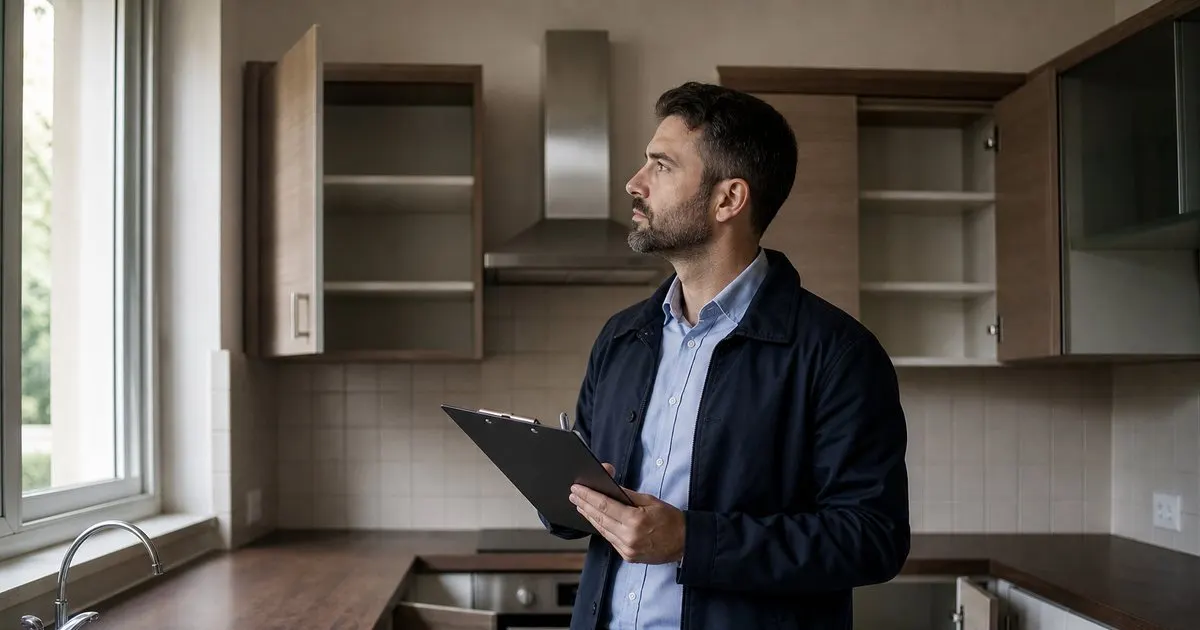
What should a move-out inspection checklist include for a typical rental apartment?

When is the best time to complete a move-in inspection with your tenant?
Get the MoveInSnap playbook
Practical guides on move-in and move-out inspections, straight to your inbox as we publish them. No spam, unsubscribe any time.